Introduction:
Do you know the most crucial element of planning or updating any space’s visibility or aesthetic appeal? It’s the lighting. The lighting can change the whole feel of a place, make a space more comfortable, productive, and profitable, and even help to set the mood.
From thousands of lighting options, a thing called track lighting stands out. You’ll see this kind of lighting in friends’ homes, exhibitions, conference rooms or more. As a trendy lighting option, LED track lighting looks very attractive. You have even started to be interested in it. However, some people are concerned about how to install track lighting. It’s not complicated. Start reading this article if you are interested.
Is track lighting installation easy?
Installing track lighting is not a difficult task as long as you have a reasonable and thorough plan. You can easily finish track light installation with a little planning and care. Figure out the length and location of the track, how bright your lighting will be installed, how it will be attached to the ceiling, and how it will be connected to a power source.
How to install track lighting?
Next are some general steps you need to follow. With these, you can even easily install track lighting alone.
Step 1: Figure out the track length.
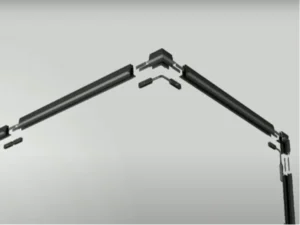
Figure out the length of the track you need. That’s the first thing you need to do. Determine the desired installation location prior to purchase, then measure the ceiling length where you need to install track lighting. Then you need to calculate the length of the track you need.
Step 2: Purchase tracks and connectors at hardware stores or online.
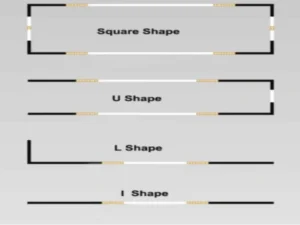
Usually, the track length is 1 meter or 2 meters. If you can’t find the exact length of track lighting you need, buy a longer one because you can cut it to the correct length when you get home and install it. The rails also have several mounting options to choose from. The rails can be installed in the shape of T, I, L, or U. If you want the track to make free turns on the ceiling, purchasing connectors is necessary. The connector is placed on either end of the two tracks, and the connection is complete by connecting one track to the power supply of the other track.
Step 3: Use a hacksaw to cut the track with the desired length if needed.
If you want to cut the track to a suitable length, you will need to buy a slightly longer one. First, measure the length and make a mark where the appropriate length is. Then cut the track. You can use a hacksaw to cut the track with the desired length. In order to be safe, you should place the rail on a wood or sawhorse, steady the track with one hand, and start sawing. Do not forget to wear safety glasses.
Step 4: Insert connectors if you need them.
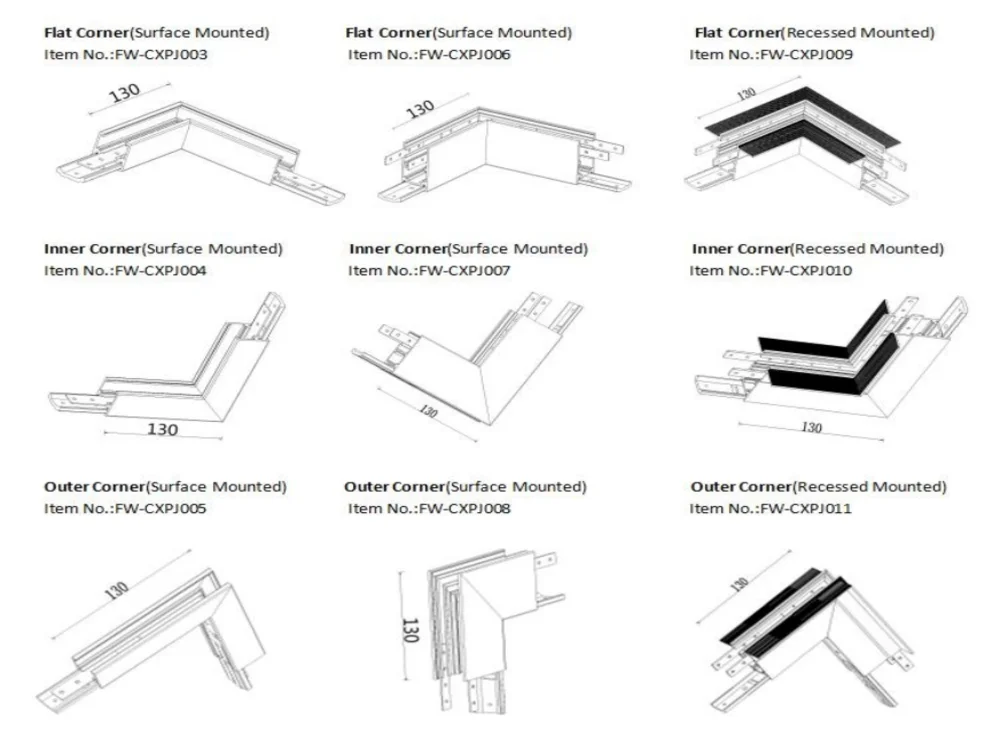
If you need to use connectors to connect the tracks, it is better to put them on before you fasten the track to the ceiling. This step is easy, and you don’t need any equipment.
Step 5: You need to know about the power supply.
Turn off the power for your safety before installing track lighting system. Have a look at your hallway, storage room, or basement. The circuit breaker box will be in these places. After you turn off the power, press the power switch to see if the light is energized to ensure you turn it off. The power adapter that fits your track will have the same color wire. Use nut handles to connect the wires of the same color, and then put the wires back in the box.
Step 6: Install the track lighting system.
This is the final step of the installation. It would help if you were more serious about finishing it.
Mark the location
Mark the position of the mounting holes on the ceiling and measure the distance between the holes. Then mark the ceiling with a pencil to see the length and position of the track. Note that measurements need to be made from the center of the hole to the center of the other hole. Otherwise, there will be a deviation. It’s best to do this with others. Ask family, neighbors, or friends to help.
Drill holes
Drill holes in the area you just marked, about 1cm. An electric drill is then used to drill holes in the marks on the ceiling. This is the time to stay safe.
Screw on the nut
Insert the toggle bolts into the holes of the track. Screw on the nut after threading the bolt through the hole in the track.
Screw the track to your ceiling
This step is the process of installing and fixing the track. It would be best if you threaded the toggle bolts through the fixing holes in the lighting track to lift it to the ceiling. Squeeze the nut at the end and push it into the borehole. Screw the track to the ceiling with a screwdriver. Then keep repeating this step. You need other people to help keep the track in place because you can’t screw and hold the track simultaneously.
Install the track lighting fixtures
Install your track lighting fixtures on the track. You can find a variety of track lighting fixtures at light fixture stores or online stores. You need to be aware that the lighting fixtures need to be sized to fit your track and be aware of the voltage.
Turn on the power and light switch
After installing the LED track lights, you need to go back to the circuit breaker box. Switch on the power supply connected to the track lighting system, and the track lights will turn on.
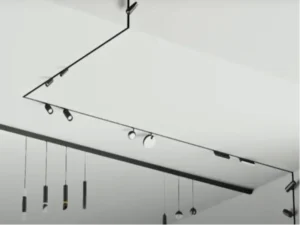
Conclusion:
No doubt, track lighting is the best option for modern lighting. Track lighting is flexible and can be adjusted as needed. It can also be used to illuminate larger areas. And you can also choose DIY track lighting. When you choose it, how to install track lighting should be fine with you too. The above steps are the whole process of track lighting installation. I hope it can help you.